


This is part of a three-part series on teaching a friend how to budget in YNAB:
The date is set and now it’s time to roll up your sleeves and start budgeting together. Time for the meetup! The name of the game for this meeting is to create a budget template.
Here’s a quick rundown of the agenda:
- Set Expectations
- Their Life Goals
- Budget Show & Tell
- Budget Template Set-Up
- Add Accounts
- Give Every Dollar a Job
- Practice Adding Transactions
- Questions?
- Next Steps
1. Set Expectations
It’s time to meet! After your small talk and catching up, start by setting some basic expectations with your friend:
- This is a process, you’re learning a whole new system and software. Give yourself time to learn!
- You’ll get it wrong sometimes, we all get it wrong, and you’ll figure it out over time. We’ll go slow, ask questions along the way, and we’ll get your finances in order.
- This isn’t a set-it-and-forget-it budget. We’re going to do a lot of the work up front, but once you’re rolling it’ll only take a minute or two of upkeep each day (it gives you something to do while you wait for your coffee maker to finish).
When you do meet, remember that they might be feeling a little nervous. A few things to mention:
- You can share as much or as little as you want. No judgement here! Past mistakes don’t make you a bad person, and I’m proud of you for getting in the driver’s seat and making healthy choices.
- Everything is private.
- I’m here for whatever you need, and whatever questions you have.
2. Their Life Goals
This part is fun—you get to ask them all about their hopes, dreams, wishes, goals, or whatever word you want to call it. Their answers will dictate how their budget should look!
Questions to ask:
- What do you want to change about your current situation? (Everyone has a current system. What isn’t working?)
- What do you want to do? (Buy a house? Get married? Have a kid? Retire comfortably? Go back to school?)
- What financial goals do you have? (Break paycheck to paycheck? Be debt free?)
You’re going to help set up their budget to work toward these goals.
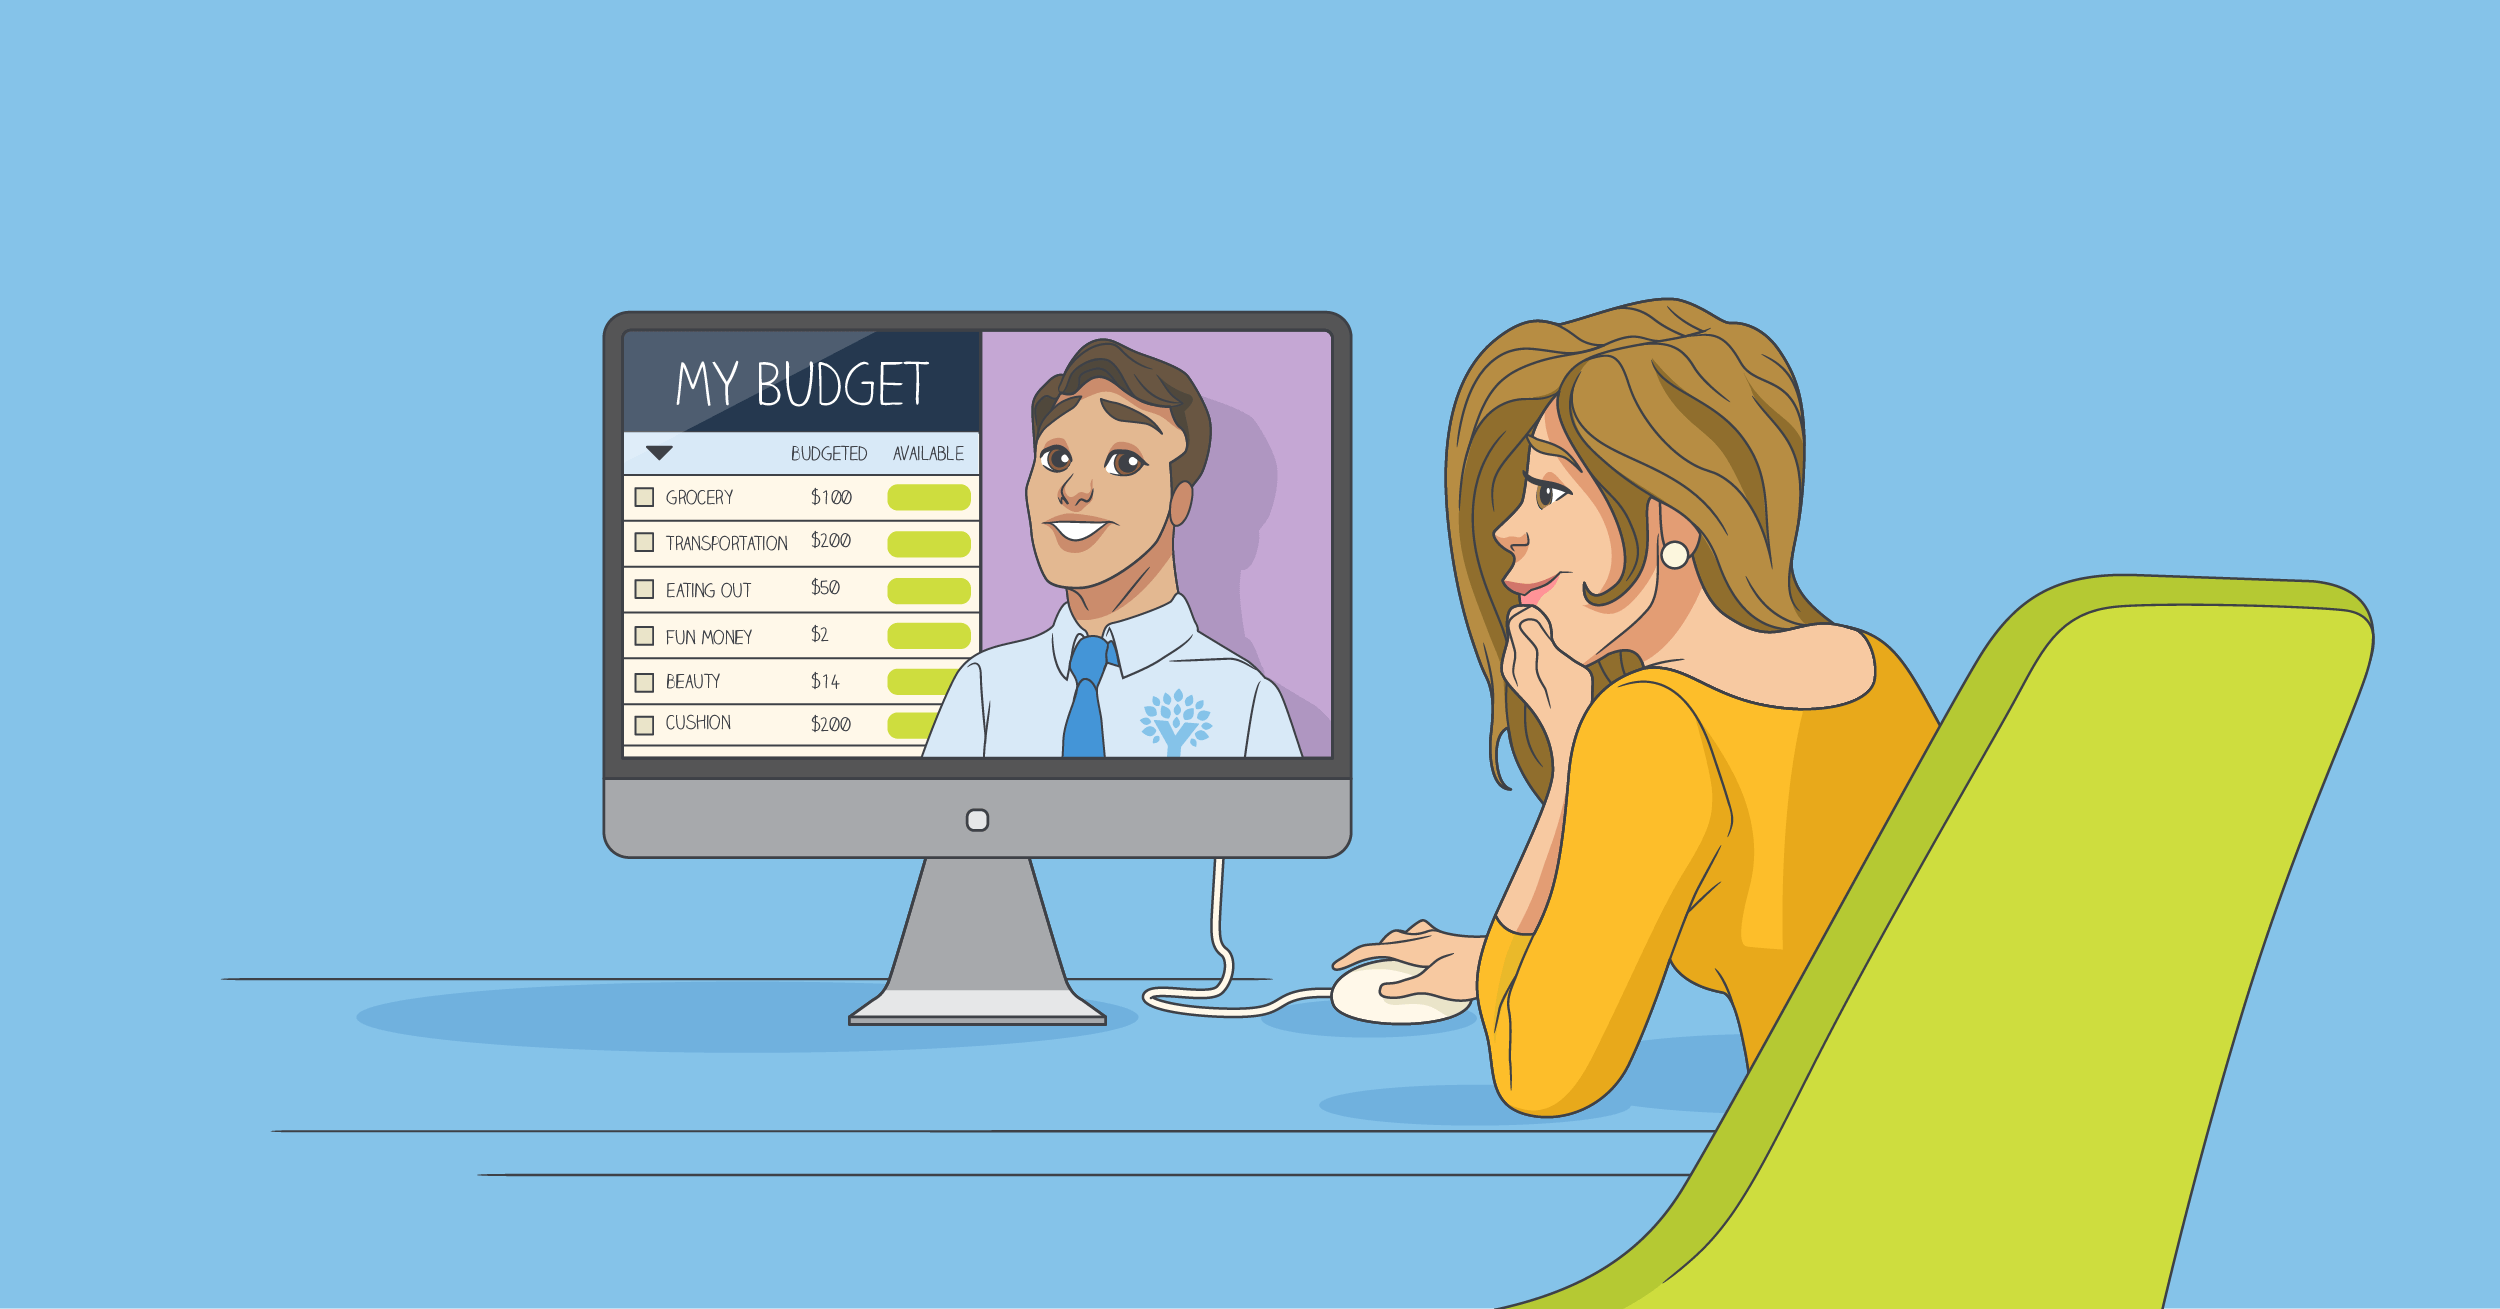
3. Budget Show & Tell
Next, you’ll do a little show-and-tell with your budget (or your Sandbox Budget as we learned from Part 1). Things to touch on:
- How your budget lines up with your own life goals
- How you organize your categories
- What you’re saving for
- You can introduce YNAB’s 4 rules here by showing how they fit in your own budget:
- Rule 1: Give every dollar a job. Note your “to be budgeted” is zero.
- Rule 2: Plan for True Expenses (AKA the expenses that don’t happen every month). Show examples of True Expenses in your budget.
- Rule 3: Roll with the punches. Give an example of the last time you rolled with the punches.
- Rule 4: Age your money. Another way of saying this is that you’re living on last month’s income. Show a category that has “aged” and has money sitting in it.
If they haven’t signed up for the YNAB free trial yet, they can do so now (no credit card needed) Don’t add any accounts yet, we’ll get to those soon!
4. Budget Template Set-Up
Now it’s their turn to take the reins with their own shiny new YNAB budget. If you’re screen sharing, switch from seeing your screen to seeing theirs. This part takes some time, just be patient as they’ll be looking up their expenses and calculating rough estimates of goal targets.
You will be tempted to set up their goals and adjust categories for them, but do your best to let them learn the software themselves. Exception: my mom would be the first to tell you she’s not very comfortable with computers, so I set up her budget template and it was a better experience for her.
Add and Adjust Categories
Read through your categories line by line and have them add those categories in their own budget. You can also reference the list in this blog.
With each added category, set a goal. This is where the credit card/checking account statements come in handy. It’s ok to guess (and aim high rather than low), or give your own input to help them set these goals. (This part is often super intimidating and exhausting for new budgeters,)
You’ll know that every goal has a category when you see the colored pills (instead of gray) in the “Available” column.

Adjust the Category Group Structure
You may end up replicating your own category structure, but know there are other options if your friend fits a different situation.
We really like this one (built by one of our developers here at YNAB). The “Flexy” sections are for expenses that aren’t set in stone. When it comes time to roll with the punches, these are the first places to pull money from.
5. Add Accounts
Now we’ll add accounts! You can think of accounts as a refrigerator and the budget as a meal plan (and your dollars are food!). Your accounts store your dollars, but your budget will tell them where to go.
- No matter if they decide to set up their accounts linked or unlinked, do recommend manually enter transactions for the first month for things like grocery shopping and gas as they’re learning YNAB (if they link accounts, don’t worry, this won’t create duplicate transactions. They’ll match up when they clear the bank).
- If you’re not sure how to add credit cards, see the video here.
- Keep it simple at the beginning, don’t worry about adding retirement accounts, mortgage balances, health savings accounts, or student loans. A checking account, savings account, and credit cards should suffice.
6. Give Every Dollar a Job
Once accounts are added, give every dollar a job. You can explain that this is the very first rule of YNAB (and there are only four!). Help them budget down their template until there is no more money in the “To be budgeted.” This might be the most mind-blowing part for them. Oh, and you may need to remind them multiple times to budget down to zero (no more and no less).
Once this step is complete, they’ve got their official budget ready to roll!
7. Practice Adding a Transaction
To get them ready to bring their budget into their day-to-day world, have them practice adding a fake transaction for groceries (and don’t forget to have them delete it).
Now they’ve got their budget template and know how to add transactions, they’re ready to take their budget into the world!
8. Questions?
Wow, at this point you’ve covered a TON of ground. They’ll probably be feeling a sense of relief at this point to actually see their whole situation in such a neat and tidy manner. Do they have any questions? They might just be processing the tsunami of information that just hit, but let them know you’re available whenever they have questions in the coming days and weeks.
9. Next Steps
It’s important to schedule a follow-up in the next day or two. There’s still more to learn!
Schedule your next meeting while you’re on the call and plan it for a day or two in the future. Between now and then, they’ll start playing around with the software and more questions will come up. Be ready for questions later in the day or the next day to come your way.
Way to go! The heavy lifting is now complete. Woot!